
Why the mirror lies
The makeup room is rarely lit like the set. Mirror bulbs, window daylight and trailer ceiling panels can all differ in colour temperature and in how faithfully they render colour. Your eyes rebalance within minutes, so a foundation that looks perfect at the station may read slightly pink, grey or orange once the camera's white balance is set for the scene.
The camera records skin relative to the white balance chosen by the camera department, and then the image may be graded later. You cannot control all of that, but you can control where you judge your work. The reliable habit is to check under the scene's light, and on the monitor whenever the production allows it.
Colour temperature in plain terms
Colour temperature, measured in kelvin (K), describes how warm or cool a white light looks. Two common references help: tungsten studio light sits around 3200 K and looks warm; daylight is often referenced around 5600 K and looks cooler. Many LED fixtures can be dialled between those points and can add green or magenta correction.
When the camera is balanced to the light, white appears white. Skin can still shift, because light quality matters too. Colour rendering is described by scales such as CRI (Colour Rendering Index) and TLCI (Television Lighting Consistency Index, developed by the European Broadcasting Union with cameras in mind). A light with gaps in its spectrum can flatten skin and muddy reds. That is a lighting issue. Makeup can soften it, but if a face reads strangely under one fixture, mention it calmly to the gaffer or director of photography instead of piling on corrector.
A matching method that repeats
- Prepare the skin and wait. Moisturiser or primer changes how a base sits. Give it a few minutes before judging colour.
- Choose three candidates. Your closest guess, one shade warmer and one cooler.
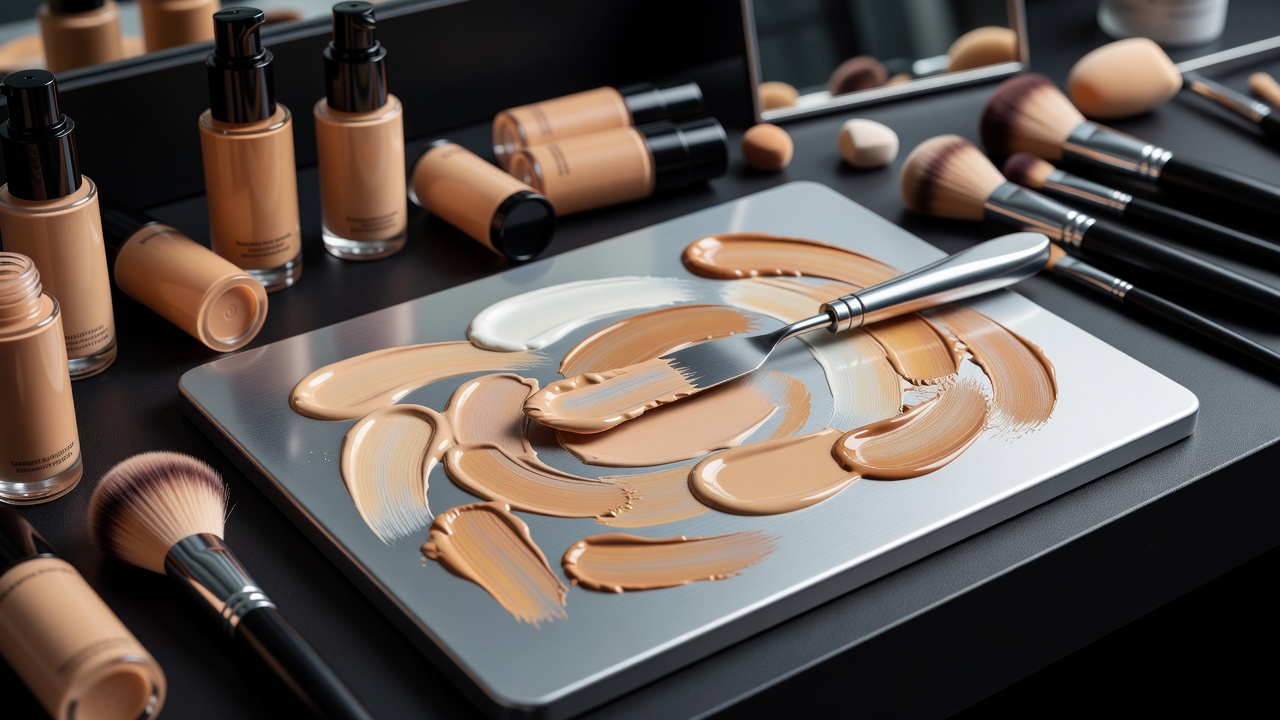
- Stripe the jawline down onto the neck. The face has to match the neck, ears and chest the frame will show, not just the cheek.
- Judge under the scene's light. Ask for a moment on the mark during lighting set-up, or use a station lamp matched to the set's colour temperature.
- Confirm on the monitor. The stripe that disappears wins. Trust the monitor over your eye.
- Record the match. Product, shade code and ratio, such as "two parts W3 to one part W4", go straight into the continuity notes.
- Ask the camera team for the planned white balance and any coloured gels.
- Set a station lamp to match where possible.
- Clean sponges so old pigment does not shift the shade.
- Use the thinnest coverage that evens tone; spot-conceal the rest.
- Blend into the hairline, ears and neck.
- Powder only where light catches: forehead, nose bridge, chin.
- Blot shine with papers before re-powdering, to avoid build-up.
- Re-check colour if the lighting set-up changes.
- Update the record when a shade or ratio changes.
Texture, shine and resolution
High-resolution capture and large screens show texture. In a 4K close-up, a heavy base reads as a mask, and the edge of a concealer patch can be visible. Work thin and build only where needed. Some sheen reads as living skin; hot spots that reflect the key light on the forehead, nose and upper lip pull attention. Blot between takes rather than layering powder again and again.
Shimmer and strong highlighters can flare under hard light, and productions delivering in high dynamic range keep more detail in bright areas, so reflective products show more. Test them on camera before using them on a principal performer.
Coloured light and the camera department
The director of photography sets the visual look, and a colourist may later warm or cool the whole image. Do not try to pre-grade the face with makeup. Instead, ask practical questions: what is the white balance, will the image be graded warm or cool, and will there be coloured gels such as red emergency light or green monitor glow? Under red light, red tones can vanish; under green light, reds can go almost black. Blood and lipstick behave accordingly, so test them in the actual light.