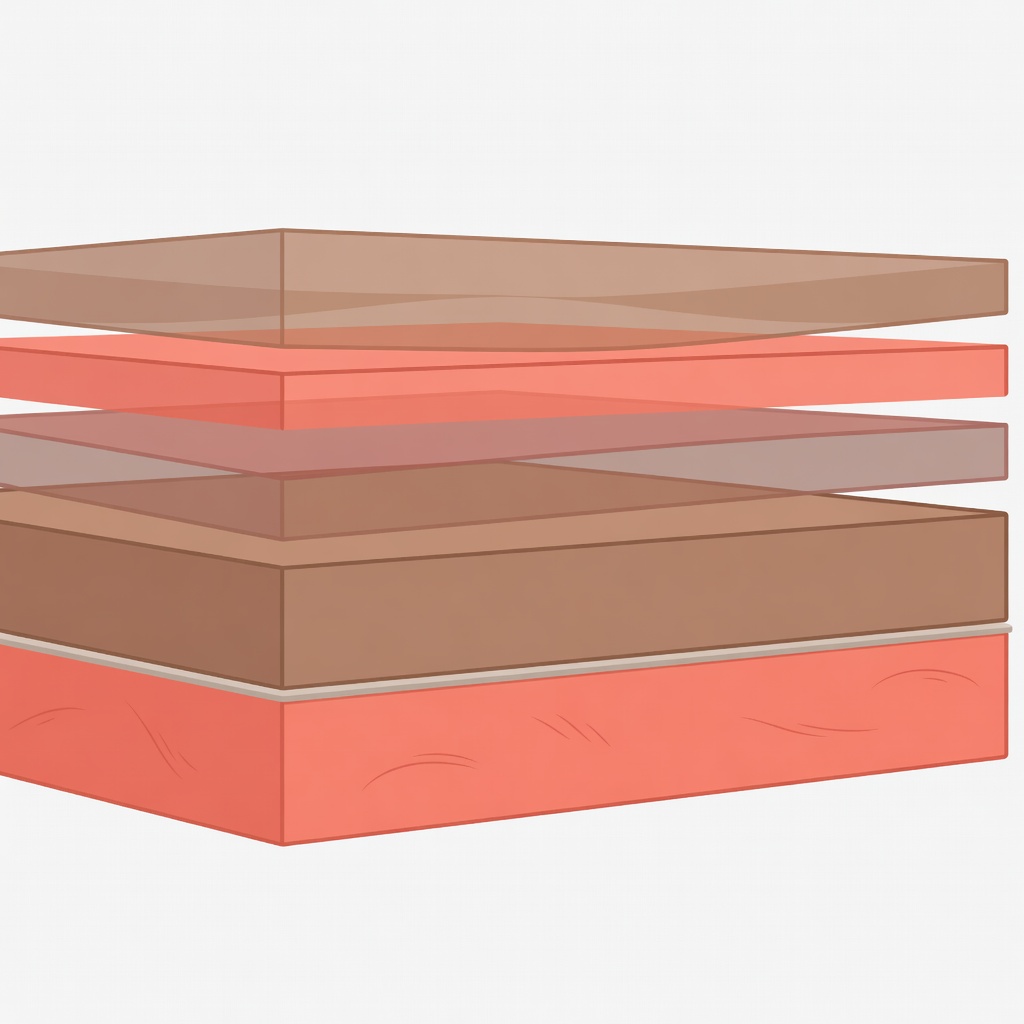
Decide whether you need a prosthetic
Screen effects have a long craft history, from Lon Chaney, known as "the Man of a Thousand Faces", to Jack Pierce's Frankenstein monster for Universal in 1931, and Rick Baker's work on An American Werewolf in London, honoured when the Academy introduced its competitive makeup award for films of 1981. What connects them is planning, not products.
Start with questions. How close will the camera get? How many scenes and story days include the effect? Is the scene hot, wet or physical? How long can the performer reasonably sit in the chair, and how long will removal take at wrap? A small cut seen once in a wide shot may need only paint. A wound seen in close-up across ten scenes needs a repeatable appliance.
Materials compared by role
| Material | Typical role | Strength | Limit |
|---|---|---|---|
| Transfers | Cuts, scars, small textures | Very thin edges, fast | Usually single use |
| Gelatin | Small to medium appliances | Translucent, affordable | Softens with heat and sweat |
| Foam latex | Large, light coverage | Flexible, lightweight | Opaque; latex sensitivity |
| Silicone | Close-up skin pieces | Lifelike movement and translucency | Heavier, costly |
| Bald cap | Covering hair | Base for further work | Edge visible if rushed |
Adhesives and removers
Match the adhesive to the material and the skin. Water-based acrylic adhesives such as Pros-Aide are widely used for appliances and transfers; silicone-based adhesives such as Telesis are common with silicone pieces. Spirit gum remains in many kits for hair work. Each has its own remover, and using the right one protects both the skin and the appliance. Never peel a piece off dry: dissolve the bond and lift slowly.
Life casting is a specialist job
Most custom appliances begin with a cast of the performer's face or body. Life casting involves materials over the airways, heat from some products and a performer who cannot see or speak. It must be learned through hands-on supervised training, not from a written page, so we deliberately do not give step-by-step instructions here.
A typical application sequence
- Prepare. Clean, dry skin; patch test done in advance per the manufacturer; pieces checked and labelled by scene.
- Position. Dry-fit the piece and mark key points so placement repeats each day.
- Adhere. Glue from the centre outward, keeping edges for last.
- Blend. Melt or feather edges so no ridge catches the light.
- Colour. Build translucent layers to match the surrounding skin.
- Record and photograph. Placement, colours and edge treatment go into the continuity notes.
Colouring the piece
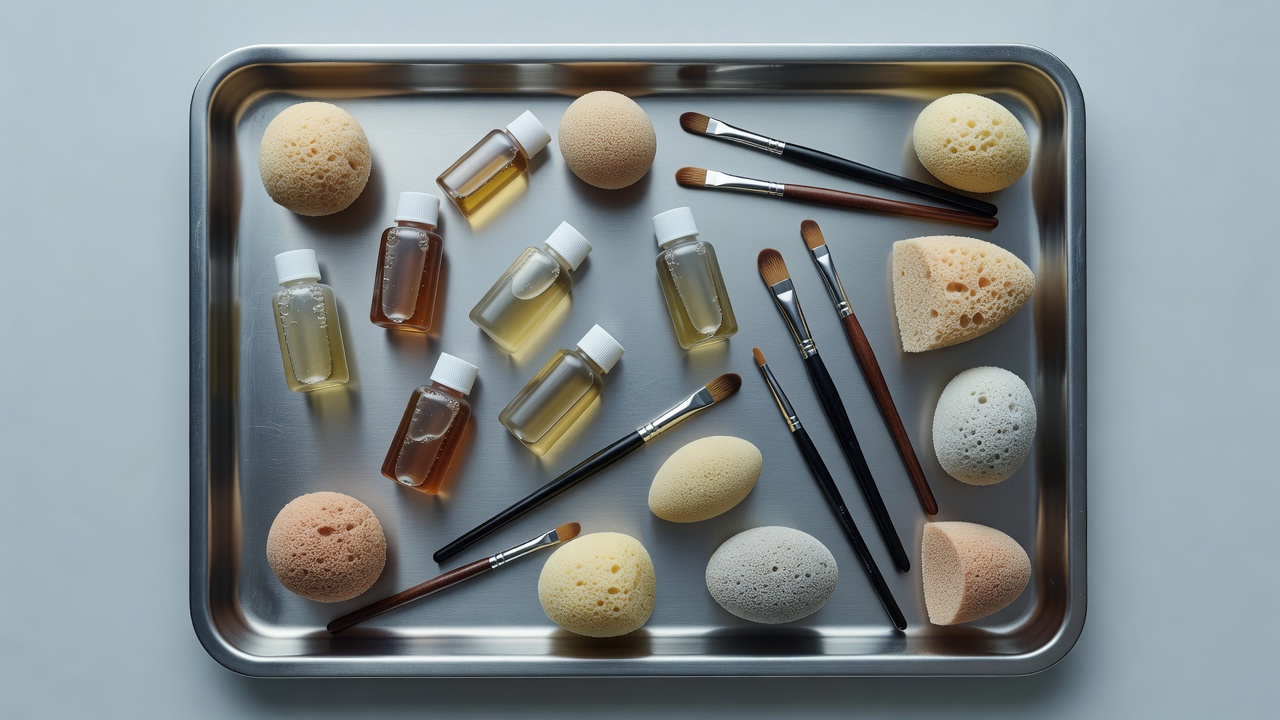
Appliances look false when they are one flat colour. Real skin has mottling, small capillary warmth and variations between forehead, cheek and jaw. Alcohol-activated palettes, such as Skin Illustrator, let you build thin, durable layers with a stipple sponge or flicked brush. Colour-match under the set's light, as described on Camera Makeup, because a piece that matches in the trailer can drift under the key light.
Edges and continuity
Edges are where effects fail on camera. Thin them at the moulding stage if possible, and plan time to blend them on the day. For multi-day effects, order multiples from the same mould so every day starts from an identical piece, and label each one with the scenes it covers. Wounds should follow the progression in your continuity record.
Blood and fluids
Choosing a blood formula
Testing with costume
Checking colour on camera
Safety limits
This site is educational and not medical advice. Patch-test products in advance, following manufacturer timing. Work with good ventilation when using solvents. Never apply adhesives or appliances over broken or irritated skin, ask performers about allergies including latex, and stop if they report discomfort. Follow your production's health and safety guidance and the product's safety data sheet.